A USB podcast mic connects directly to your computer, which makes it a practical starting point for Hindi interviews, solo episodes, and bilingual conversations without a separate audio interface. This guide covers two microphones sold in India, the features worth prioritising, and a repeatable home-recording setup. It also explains how Zencastr fits into remote audio and video podcast production.
What Makes a USB Podcast Mic a Good Choice?
A USB podcast mic is a good choice when you want one microphone plugged straight into a computer instead of a microphone, an interface, and extra cables. Models with both USB and XLR outputs let you start with the simple connection and keep another option for later. For a solo Hindi podcast, or a host interviewing guests remotely, that is a useful balance of convenience and flexibility.
Start with your recording environment, not a promise of a "radio voice." If your room has fan noise, traffic outside, or hard reflective surfaces, consider a cardioid dynamic microphone used up close. Close positioning keeps your voice prominent against background sound, but a dynamic mic does not make the room soundproof. RØDE recommends positioning the microphone about 5 to 10 cm from your mouth to reduce unwanted background noise.
For Hindi-speaking creators, make your test realistic: record a conversational introduction, an energetic question, and a quieter response. Include English names or technical terms if you normally switch languages. Judge whether the recording sounds clear and comfortable rather than trying to imitate someone else's voice.
Features Worth Paying for Before Extras
Use these priorities when comparing microphones for podcasting:
- Direct headphone monitoring: Listen through the microphone's headphone output when it has one. Both shortlisted models offer monitoring, so you can check what the microphone captures while recording.
- A manageable connection: Check the included cable and your computer's ports. If the computer does not recognise the mic, connect it directly rather than through a hub and confirm the cable carries data, not just power.
- Reachable controls: Decide whether you want physical mute and volume controls. They let you make adjustments without hunting through another window.
- A workable mounting arrangement: Check whether the package includes a stand or only a mount. Choose a position that lets you speak comfortably without bending toward the desk.
- A real reason for XLR: Both recommendations offer USB and XLR connections. Treat XLR as flexibility for a future setup, not a reason to buy an interface now.
If your starting budget is $100, treat that as a ceiling for the whole setup, not just the microphone. Leave room for anything missing from the box, such as a suitable stand or headphones. An affordable podcast mic is only affordable if the complete setup fits your budget.
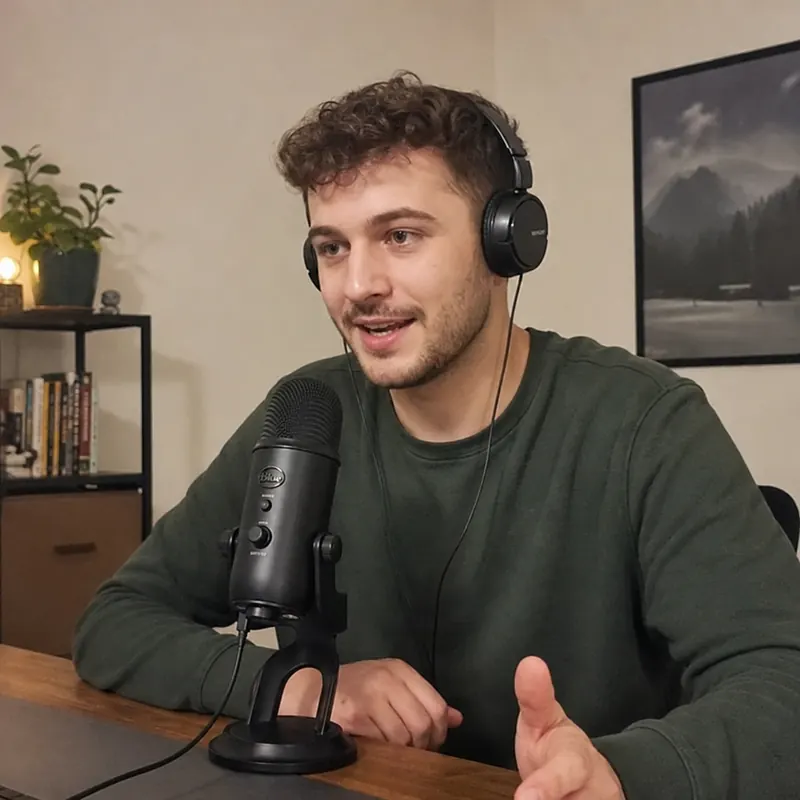
Two USB Microphones to Shortlist in India
These are feature-based recommendations, not results from a hands-on comparison. Both are listed by Indian retailers, but confirm delivery to your postcode, package contents, seller identity, and warranty before paying. For more options at different price points, see our list of the best podcast mics in India.
Maono PD200X: A Practical First Shortlist
Consider the Maono PD200X if you want a dynamic microphone with USB and XLR connectivity, headphone monitoring, and easy-to-reach controls, including gain adjustment and a mute button. That combination makes it worth comparing when your priority is a straightforward desk setup.
The practical appeal is control during a session: you can monitor yourself and adjust the microphone without relying entirely on recording software. Before ordering, check the exact bundle, especially the stand. Keep your first test simple rather than changing several sound-processing settings before you have heard the unprocessed recording.
RØDE PodMic USB: For More Onboard Features
Consider the RØDE PodMic USB if you want USB-C and XLR connectivity, onboard APHEX processing, and zero-latency headphone monitoring. RØDE also lists compatibility with computers and iOS and Android devices, and the mic has an internal pop filter.
The processing options may appeal if you want more control inside the microphone, but do not buy them just because they exist. First identify the problem you want to solve, then decide whether those features justify the cost. Confirm your mounting arrangement too, rather than assuming every product photo shows everything included.
The best USB mic for you is the one that meets your recording needs without using up the accessory budget. When you search for a USB mic in India, check the exact model on each listing: the PodMic USB and the XLR-only PodMic are not interchangeable purchases.
Build a Repeatable Recording Setup
Start with a short rehearsal rather than your first full episode. Follow this sequence, changing one thing at a time so you can hear what helps.
- Choose your quietest practical recording time: Listen for traffic, appliances, and activity elsewhere in the home. Record a brief sample in two possible positions before choosing your regular spot.
- Position the microphone close enough for comfortable speech: Follow the manufacturer's guidance and keep that distance consistent while speaking.
- Connect and select the correct input: Check both the computer's sound settings and the recording platform. Maono's troubleshooting guidance recommends selecting the PD200X as the input device rather than assuming the computer has switched automatically.
- Rehearse your loudest likely delivery: Include laughter, an excited introduction, and a strong question. Lower the input if the meter shows overload, then repeat the same passage to compare.
- Listen through headphones: In remote sessions, headphones stop your microphone from picking up other participants through your speakers. Ask guests to wear them too.
- Approve the playback before continuing: Listen for distracting background sound, uneven distance, and missing words. Save a short reference recording so you can compare next week's setup against it.
For Hindi dialogue, include breathy consonants, emphatic phrases, and your normal speaking pace in the rehearsal. Keep your delivery natural. The goal is to adjust the setup around your speech, not to make every sentence sound like a formal announcement. If you would rather record on a phone, compare options in our guide to podcast recording apps.
Do You Need a USB Audio Interface?
You do not need a separate audio interface to use either shortlisted microphone over USB. The USB connection handles direct computer recording, while the XLR output gives you a separate route through an interface or mixer. Buy the extra hardware only when your workflow needs it.
Before expanding, write down what the next setup must do. Perhaps you want a permanent desk arrangement, different controls, or an XLR-based workflow. Ask the seller to confirm the complete signal path before ordering more equipment, and do not buy an interface just because it appears in another creator's studio photo. Our podcast equipment guide for India explains when an interface is worth it. If you need to move around while recording, a wireless podcast microphone may suit you better.
Record Remote Interviews and Video Podcasts With Zencastr
Zencastr is a remote podcast recording and video podcast platform that records participants locally on their devices and captures separate speaker tracks. Separate tracks give you more editing control, and local capture means the recording is not simply the compressed audio heard during the live call.
For a first session, use this checklist:
- Open a supported desktop browser and allow microphone and camera access.
- Select your USB microphone explicitly, then confirm your headphone output.
- Choose audio-only or video-and-audio recording to match your episode format.
- Select Hindi as the recording language when appropriate; Hindi is one of the languages Zencastr supports for transcription.
- Ask everyone to wear headphones and run a brief rehearsal before the interview.
Keep that rehearsal conversational. Ask your guest a real opening question, listen back, and agree on a comfortable speaking distance. Try Zencastr with a short pilot episode before committing your best interview to an untested setup.
Start With a Pilot, Then Improve Deliberately
Shortlist the PD200X for its straightforward controls, or the PodMic USB when its extra features serve a clear purpose. Then put your attention on placement, rehearsal, and a recording routine you can repeat. Finish one pilot, note the single biggest distraction, and solve that before buying your next upgrade.